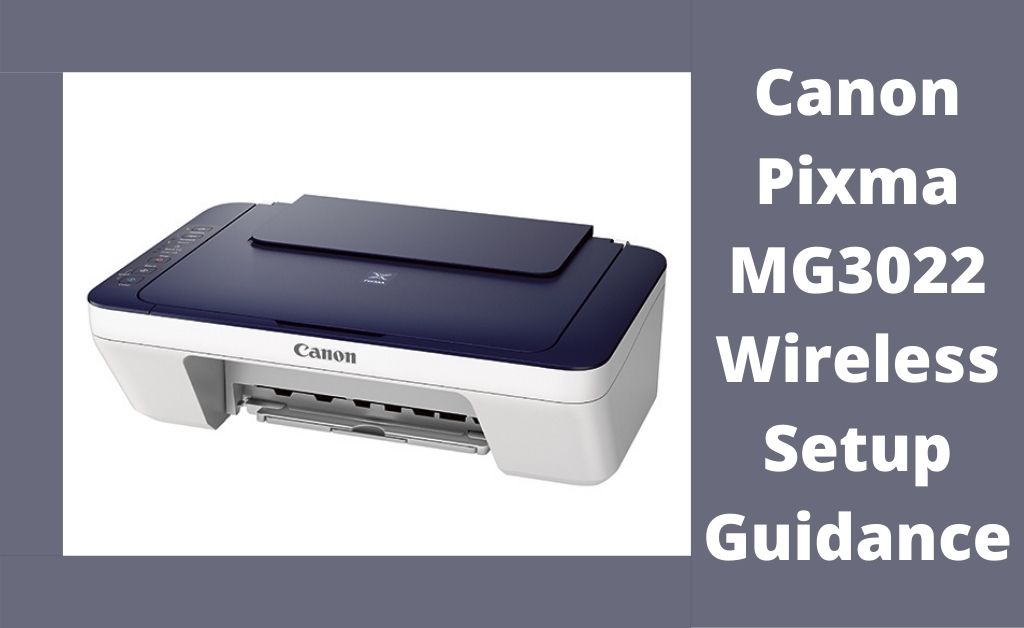
Canon Pixma MG3022 is an all-in-one, compact printer that offers the users to print wirelessly. But, to make it work smoothly and efficiently, first, you will have to connect the device with a stable and secured wireless network.
This is where you must know the steps to set up the printer. If you are unaware of how to perform Canon Pixma MG3022 wireless setup, then you can go through the steps provided below.
How to Setup Canon Pixma MG3022 Wireless [A Step-by-Step Guide]
Here, we are going to provide two simple methods through which you will be able to perform Canon Pixma MG3022 wireless setup on your own. So, perform the steps described below:
WPS or Wi-Fi Protected Setup:
Before going to perform the below steps, make sure that the Canon printer has a WPS button. You also need to confirm that you have a strong and stable internet connection. Thereafter, you can proceed with the below steps:
Step 1:
First of all, remove the device from its box and plug one end of the power cable to the printer. Connect the other end to the power outlet. Press the Power button and hold it for a few seconds to turn the device ON.
Step 2:
Once the device turns ON, press the Wi-Fi button from the Control Panel of the device and hold it for a few seconds until the Wi-Fi indicator light gets lit. Make sure that the LED light shows a blue color.
Step 3:
Press the WPS button and hold it for at least 2 minutes. Now, you will see that the blue light indicator will start blinking. It indicates that the device is starting to search for the access point.
Once the device is connected to the access point, the Wi-Fi and the power light indicator will flash. If this process gets accomplished, the Wi-Fi indicators will stop flashing.
Step 4:
Next, try to print the network configuration settings page to check whether the process is successful or not. Place a bunch of paper into the paper tray of the device.
Then, press the Cancel/Resume button until the LED indicator lights blink 15 times. After that, you can release the button.
Step 5:
Now, the device will print the network configuration page. It is an indication that the Canon Pixma MG3022 wireless setup is now completed. Once the device is connected to your home broadcast network, both the LED indicator will turn off.
But, after completing Step 4, if the device becomes unable to print the network configuration page, then you can proceed with the alternative method discussed below.
Alternative Method: How to Set up Canon Printer Wirelessly?
If the WPS method fails, then you can apply the below steps in order to perform Canon Pixma MG3022 wireless setup.
Step 1:
In the beginning, unbox the device and connect the power cable to turn the device ON. Then, press the Wi-Fi button and hold it for a few seconds until the Wireless LED flashes. After that, press the Color button.
Step 2:
Next, press the Wireless button repeatedly until the Network indicator starts flashing. Afterward, press the Color button once again. After doing this, you will have to download and install the driver software on the system.
Step 3:
Open a web browser on your computer. Then, visit the official website of Canon. Navigate to the Driver Download section. Search for the appropriate software by entering the model number of the printer.
Step 4:
Once it shows the search result, choose the suitable one depending on the Operating System of your computer. Then, tap on the Download button to download and save the driver software on your computer.
Note: You can also use the Setup CD to install the driver software for your Canon Pixma MG3022 printer.
The downloaded software will start the installation process automatically.
Note: If it does not, then navigate to the location where you have stored the driver installation file and click twice on that.
Once it opens the installation window, click on the ‘Start Setup’ button.
Step 5:
On the next page, you will be asked to enter the appropriate region. Select your region and click on the Next button. Go through the License Agreement carefully and click on the Yes button to accept it.
Step 6:
Choose the ‘Do Not Agree’ or ‘Agree’ option to the survey. Tap on the Next button from the ‘Firewall Setting’ window. Once it redirects you to the ‘Connection Method’ page, tap on the Yes button.
Step 7:
It will open the Wireless Router screen. Choose the wireless router to connect to the device. After that, enter the password in the ‘Network Key’ field and then tap on the Next button. Wait for a few seconds until the loading completes.
Step 8:
Once the ‘Connection completed’ message appears on the screen, tap on the Next button. After a few seconds, you will see the ‘Setup Complete’ message on the next screen. Tap on the Next button once again.
Note: If you wish to set your Canon Pixma MG3022 printer as the default device of your computer, then check the ‘Set as default printer’ box before clicking on the Next button.
Step 9:
Now, you will get a list of optional application software. If you want to add them, then tick the respective boxes and tap on the Next button. It will navigate you to the ‘You Can Print from a Smartphone or Tablet’ screen. Tap on the Next button.
Once it opens the ‘User Registration’ page, tap on the Next button. Complete the registration process by following the on-screen instructions. Else, you can tap on the Skip button.
Lastly, tap on the Exit button. Now, the installation process is completed successfully. So, you are ready to print wirelessly. Run a test print to check for the result.
Frequently Asked Questions
How to Confirm that Canon Pixma MG3022 Wireless Setup is Successful?
To verify whether the device is connected to the internet connection, you can try printing a document for testing. For that, first, make sure sure that the device is turned ON. Then, check the connection status on the printer and confirm that it is showing the ‘Active’ status.
Make sure that the internet connection name showing in the status bar is correct. Load plain A4-sized paper into the paper tray.
Then, press the ‘Start over’ button and hold it for a few seconds until you see that the LED indicator blinks 15 times. Afterward, it will print the document. It will make sure that you have completed the setup process successfully.
How to Setup Canon Pixma MG3022 Wireless on Mac?
If you want to set up the Canon Pixma MG3022 on your Mac device, then make sure that there are no other Canon drivers installed previously. Then, download the driver software on your Mac device.
Open the installer file and complete the installation wizard by following the on-screen instructions. After completing this, you can tap on the Apple icon from the System Preferences.
Once it opens the ‘Printer and Scanner’ section, tap on the ‘+’ icon to add the Canon printer with the Mac device. You will see the new printer on the list of available printers.
Click on the model number of your Canon printer. After that, tap on the ‘Choose driver or printer model’ option and then choose the Printer software. Lastly, tap on the OK button. Let the setup process complete automatically.
Once you complete the process, run a test print to check if the setup process is completed successfully.


