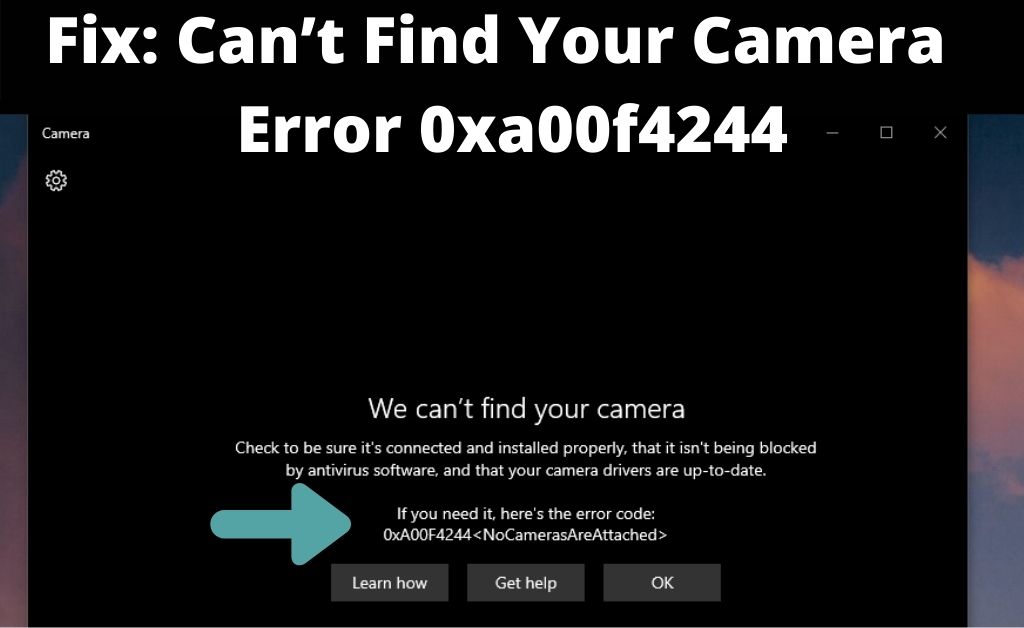
Plenty of times many users have reported about the camera error code 0xa00f4244 whenever you are launching the camera application. This can happen due to a lot of reasons. The most common thing is when you start the camera there is an error message “0xa00f4244 nocamerasareattached”. However, if you have encountered the same issue then you are in the right place. As in this guide, we have discussed all the methods that you can implement to solve the webcam issue. Although there can be numerous reasons that actually trigger the issue. For more information go through the below.
Procedures to Fix the Camera Error Code 0xa00f4244 nocamerasareattached issue:
Here we have mentioned some of the best methods that you can perform to fix we can’t find your camera. This error sometimes appears when the webcam is not connected to the PC or if the proper driver is not installed for the Camera. Without wasting any more time let’s jump to the solutions that you can perform and thereby fix the issue.
Steps to Perform to fix 0xa00f4244 nocamerasareattached:
However, before you hit the methods to fix the solutions there are few things that you need to follow.
-
Ensure the Camera is Turned on:
At times the 0xa00f4244 nocamerasareattached happens if the camera of the device is turned off. Therefore you have to make sure if the Camera of the device is tuned or not. Go to the Settings menu and then you have to click on the Camera for this Device option, now check if it is turned on or not. If not then you can toggle it on.
-
Check if the Proper Driver is Installed or not:
Most of the time the issue occurs due to the fact that the right and the proper driver of the Camera is not installed. So if you have encountered the same issue, then you have to check if the proper driver is installed. For that go to the Device Manager and then scroll down to the Camera options and then check if there is any driver with a yellow exclamation mark or not.
Method 1: Disable the Firewall and Antivirus
Many users have reported that the error occurs when the antivirus or the firewall of the system blocks the Camera application. Thus you have to check if this the thing that is triggering the issue.
To disable the Antivirus, navigate to the Antivirus icon on the Taskbar which is located on the right corner of the screen. Then right-click on the icon and select the Disable Option. Now confirm it by clicking on the Yes button on the next prompt screen.
To disable the Firewall, go to the Control panel from the Start Menu. Then select the System and Security option. From there you have to go the Windows Firewall option. Now toggle it off, followed by restarting the system. Once all the process is complete you can check if the no cameras are attached is showing or not.
Method 2: Reset Camera App to the Default Setup
If the above solution was unable to fix the issue, then you can go through the next method to fix the error. You can try to reset the camera that is connected to the system to its default setup. This is to ensure that if there is any wring configuration then you can reset it.
- Press and hold the Windows key + I to open the Settings menu. Alternatively, you can open the Start Menu and then click on the gear icon to open it.
- Now select the Apps options, from there you have to go to the Apps and Features options.
- From the list of applications, you have to locate the Camera Application of the system. Click on it and then click on the Advanced options.
- Locate the Reset button and then click on it.
- Once the process is complete you have to restart the system, then check if the error persists or not.
Also Read: Voicemod Not Working on Windows 10
Method 3: Tweak Some Changes in the Windows Registry
If resetting the camera could not fix the error then you can tweak some changes in the Windows Registry. However, it is recommended to take a backup of the Registry before making any changes.
- Press and hold the Windows key + r to open the Run box. When the box opens, type, “Regedit” and hit the Enter button to open the Registry Editor of the System.
- After that, you have to navigate to HKEY_LOCAL_MACHINE\SOFTWARE\Microsoft\Windows Media Foundation\Platform path.
- Here, you have to locate the Platform and then right-click on it. Select the New then DWORD (32-bit) value.
- Now you have to rename this DWORD as EnableFrameServerMode.
- Furthermore, you have to click on EnableFrameServerMode and simply change the value to 0.
- Once the process is complete you have to click on Ok and exit the Registry Editor.
- Lastly, you have to restart the system and then check if the camera error code 0xa00f4244 is solved or not.
Method 4: Tweak the Driver of the Webcam
There are a number of options that you can perform with the Driver of the Webcam. Therefore here we have mentioned some of the methods that you can implement if none of the above-said solved the error.
Also Recommend: werfault.exe windows 10
Uninstall and Re-install the Driver:
The first that you can try is to uninstall and then reinstall the driver of the webcam that is connected to the system. Besides, we have mentioned both the Automatic as well as the Manual method.
Also Read: How to Reinstall Windows 10
Automatic:
- Open the Run dialogue box by pressing the Windows key + R key. Once the box opens, type “devmgmt.msc” and thereby hit the Enter button to open the Device Manager.
- Then you have to locate the Camera section and then expand it.
- Now you have to click on the Uninstall option to remove the driver from the device.
- Once the uninstallation process is complete, you now have to right-click on the Camera section again.
- Furthermore, you have to click on the Scan for Hardware Changes option. Once the system finds the right hardware click on the update driver option and continue.
- Then on the next screen click on the Search Automatically for the Driver option to continue by the system to automatically update the driver of the Webcam.
- Lastly, reboot the system and check if the error is solved or not.
Manual:
- Launch the browser and then download the latest version of the webcam driver.
- Open the Run dialogue box by pressing the Windows key + R key. Once the box opens, type “devmgmt.msc” and thereby hit the Enter button to open the Device Manager.
- Then you have to locate the Camera section and then expand it.
- Furthermore, you have to click on the Scan for Hardware Changes option. Once the system finds the right hardware click on the update driver option and continue.
- Then on the next screen click on the Browse my computer for driver.
- After that, you have to select the file driver that you have downloaded from the official website.
Rollback to the Previous Driver of the Webcam:
Sometimes, the error occurs when there are any bugs or errors in the driver, therefore you can rollback to the previous driver of the webcam. For that, you can go through the following steps to fix 0xa00f4244 nocamerasareattached.
- Open the Run dialogue box by pressing the Windows key + R key. Once the box opens, type “devmgmt.msc” and hit the Enter button to open the Device Manager.
- Then you have to locate the Camera section and then expand it.
- Now on the menu, you will see the “Rollback to the previous version” option.
- Once the process is complete you have to reboot the system and check if the error is solved or not.
Summing Up
That is all with the methods that you can implement to fix the 0xa00f4244 nocamerasareattached issue. You can go through the processes and check which one works solves the error for you.