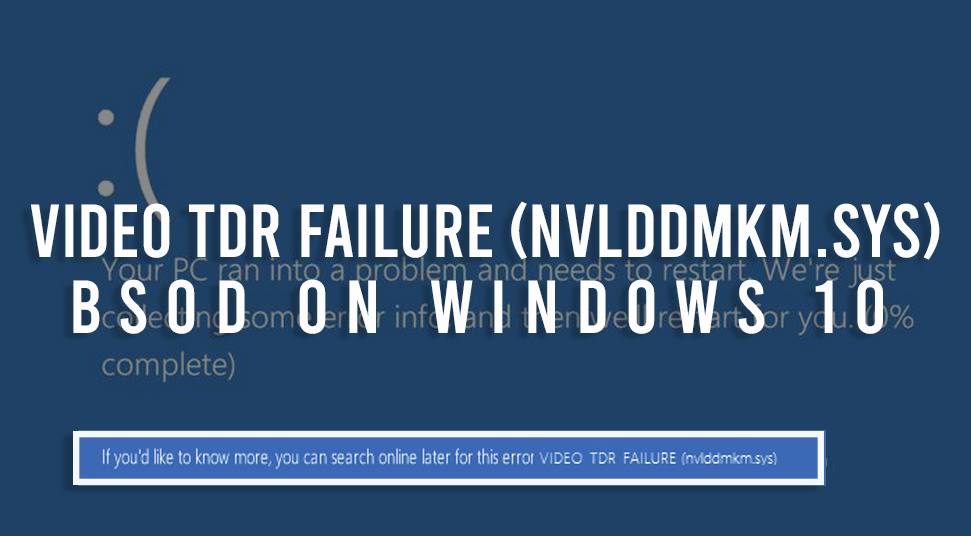
One of the most common problems that are faced by Windows User nowadays is the Blue Screen Of Death (BOD). Perhaps, this issue mostly happens when the user is having both the Windows 10 operating system as well as the Nvidia GPU application in the system. The TDR stands for Timeout, Detection, and Recovery. It is responsible for preventing the Blue Screen Of Death. So it is obvious if you are facing this issue then the TDP has failed. So if you have encountered the video TDR failure nvlddmkm.sys, you probably are searching for solutions. In this guide, we have provided all the solutions that you can implement.
However, the exact cause of the nvlddmkm.sys failed is still unpredictable. Though we can say that sometimes it occurs due to the problem related to the software issues of the system. Also, this can occur when there is an incompatible graphics device or driver in the system. Here is a list of workarounds that you can perform and thereby solve the issue.
Easy Procedures to Fix Windows 10 Video TDR Failure:
Stop code video TDR failure, as we mentioned above is a common problem and mostly occurs due to the software issue. So we have to check if video tdr failure nvlddmkm.sys issue with the software. Without wasting any more time let’s jump to the methods to fix the nvlddmkm.sys windows 10.
Step to Follow before You implement the Methods to Fix Windows Stop Code Video TDR Failure:
Before you start the process, it is recommended to take a backup of all your data. Also, you can create a Restore Point. To create a Restore point, open the Start menu and then search for then Create a Restore Point. Then select the first option that appears on the search results. Now go to the System Protection, then scroll down and click on the Create button to create a Restore Point. This method will ensure that if anything goes wrong you can restore the Windows. Besides, you have to disconnect all the external devices that are connected to your system.
Method 1: Check for Updates of the Applications
The first and easiest method that you can try is to check for any updates for both the Windows as well as Nvidia GPU. You should know that there can be bugs and errors with the software, thus it is necessary to keep the applications up to date. First, you have to go to the Settings menu of the PC from the Start Menu. Then select the Updates option. Then click on the Check for updates options to see if there are any updates. Perhaps, if there are any updates then go for it.
Next, press Windows Key and R, to open the Run box. Then you have to type “devmgmt.msc” in the box and hit Enter to open the Device Manager. Now you have to locate the Display Driver and then expand it. Navigate to the Graphics Card Driver and right-click on it. Thereafter you have to click on the Update Driver Software. On the next screen, you have to select the “Search Automatically for Updated Driver Software” option and then follow the instructions.
Method 2: Reinstall the Display (Graphics) Driver
Even after updating the drivers if you see the video TDR failure nvlddmkm.sys then you can try this method. Basically, this method will ensure that there are no bugs as well as make sure the driver is to the latest version.
Automatic Method:
- Press Windows Key + R, to open the Run box. Then type “devmgmt.msc” in the box and hit the Enter button to open the Device Manager.
- Locate the Display Driver in the list of applications and expand it.
- Right-click on the Graphics driver and then click on the Update the Driver Option.
- On the next screen, you have to select the “Search Automatically, for Updated Driver Software”
- This process will ensure Windows to download the latest version of the Driver.
- Restart Your Computer, once the process is complete.
Manual Method:
- Open the browser and open the Nvidia official page or the AMD official page. Now download the latest driver of the Graphics driver.
- Following the above instruction go the Display Driver.
- Then right-click on the Graphics Driver and select the Update Driver option.
- On the next screen, you have to select the “Browse My Computer for driver software” option.
- Then select the downloaded file, and continue.
- Once the process is complete reboot the system.
Alternate Method:
- Download the latest driver of the Graphics driver by opening the Nvidia official page or the AMD official page from your browser.
- Uninstall the driver that is installed in the system form the Control Panel.
- Then right-click on the downloaded file and then click on the Properties option.
- Now you have to go to the Compatibility Tab. From there you have to click on the “Run this program in Compatibility mode” option to ensure it runs properly.
- Wait until the installation is finished and then restart the PC.
Method 3: Modify the PCI Express Power Management Settings of the System
Plenty of users reported that Windows 10 video tdr failure nvlddmkm.sys occurs due to the low power in the CPU as well as the graphics card. This is most common among laptop users when they are using the laptop on battery. So you can simply set high-performance power settings to fix the issue from the Control Panel.
However, if you do not want to opt for high-performance, then you can disable the power saving option for the PCI express. And to do so you can go through the instructions given below.
- Click on the Start Menu and then open the Control Panel.
- Now select the Power options on the menu.
- From there you have to click on the Change Plan Settings which you can find next to the Power plan.
- Find the PCI Express settings in the menu and then expand the option.
- Similarly, expand the Link State Power Management.
- Furthermore, you have to change the to off for the Plugged in and On battery option on the menu.
- Lastly, click on the Apply and Ok button to save the changes. Followed by restarting the system.
Method 4: Replace the ATIKMPAG.SYS File in the System
Here we have the instructions that you can perform to fix the nvlddmkm.sys windows 10 by replacing the atikmpag.sys file. However, this method is totally for the AMD Radeon User. go through the instructions provided below.
If you have AMD Graphic Driver:
- Open the Windows Run dialog box by pressing the Windows key and R. In the box, type “C:\Windows\System32” and hit the Enter button.
- When the folder opens, go to the right top corner of the screen and select the Search bar, in it type atikmpag.sys. Then rename it to atikmpag.sys.bak
- Open This PC and go to the C: drive, from there go to the ATI folder that you will find in the Programs Files folder.
- Locate the file atikmpag.sy_ and simply copy it to the desktop.
- Again open the Run box and then type “cmd” and hit Enter to open the Command Prompt.
- When it opens, type the “chdir desktop” and hit the Enter.
- Then type the following commands
expand.exe atikmdag.sy_ atikmdag.sys and then hit Enter
expand -r atikmdag.sy_ atikmdag.sys again hit the Enter button.
- Once the process is complete you will see the atikmdag.sys on the desktop.
- Now right-click on it and copy it to the System32 folder.
- Restart the PC and then check if the nvlddmkm.sys failed is fixed or not.
If you have Nvidia Graphic Driver:
- Open This PC and then go to the C: disk. Scroll down and open the Windows folder.
- Locate the System32 folder, open the Driver folder and the rename “nvlddmkm.sys” to “nvlddmkm.sys.old”.
- After that go to the Nvidia directory folder from the C: drive. In the folder find the file “nvlddmkm.sy_” and copy it to the desktop.
- Launch the Command Prompt from the Start menu and when it opens, type the “chdir desktop” and hit the Enter.
- After that, you have to type the following command,
“EXPAND.EXE nvlddmkm.sy_ nvlddmkm.sys“ hit Enter.
Also, you can type “expand -r nvlddmkm.sy_ nvlddmkm.sys” and hit the Enter button.
- When the process is complete, you will see the file on the desktop.
- Copy it to the Driver folder from the System32 folder followed by reboot the PC.
Method 5: Run Check Disk and Memory test
As above said that the Blue Screen of Death is prevented by the TDR, so if the above methods do not fix the Windows stop code video TDR failure, then you can run a Disk Check as well as a Memory test. This process will ensure if there is any fault with the hard disk or the RAM management.
Disk Check:
- Press and hold the Windows key + X key to open the Command Prompt. Alternatively, you can right-click on the Windows logo and then select the Command Prompt (Admin).
- Then a Confirmation window will appear, click on Yes to continue.
- When the Command Prompt opens, type the command “chkdsk /f c:” and hit the Enter button.
- Then type Y in the window and hit Enter to continue followed by restarting the computer.
- After that, you can see the checking in progress.
Memory Test:
- Open the Run dialog box by pressing the Windows key + R. Type “mdsched.exe” in the box and hit the Enter button.
- Then a window will appear, in there you can select the appropriate option and continue.
- Once the process is complete, you can see the Windows is running the Memory Diagnostic to check for any problems in the RAM management.