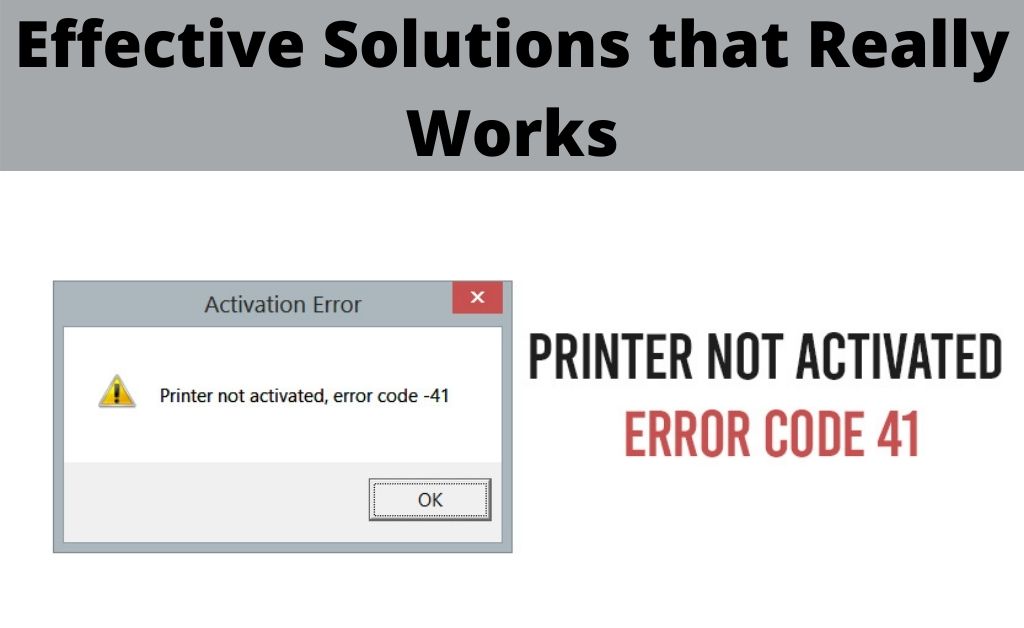
Based on a recent report, several printer users usually get stuck with a notification while trying to access their printing device. The error notification states “Printer not activated error code 41”.
This error message clearly defines that there are certain technical complications that are restricting the users from activating their device.
There might be different factors that can lead to this error. However, the most prominent factors are the incorrect configuration of the printer settings, outdated or corrupted printer driver, certain software related issues.
If you are dealing with this similar situation and want to get rid of this immediately, then you have to follow the undermentioned section.
Ways to Fix Printer Not activated Error Code 41
Printer activation error can be easily fixed by following a few troubleshooting measures. So, check out the below-cited instructions to get rid of this error in no time. At first, start by checking the system files and then proceed to the printer configuration.
-
Resolve the System Error Using SFC
Generally, printer activation error occurs due to system errors. In order to resolve the system related errors, you can run the System File Checker which is a built-in utility in Windows Operating System.
This utility is specially designed to eliminate internal bugs and glitches. In order to run this utility, follow these instructions undermentioned:
- Press the combination of the Windows logo and R key to initiate the Run window.
- On the Run dialogue box, write “cmd” and hit the “OK” button to execute the command.
- From the result-oriented window, choose the “Command Prompt” and proceed to right tap on the option titled “Run as Administrator”.
- As soon as you perform this instruction, the Command Prompt will invoke in Admin Mode.
- Under the Command Prompt window, write “sfc/scannow” and hit the “OK” button to run the command.
- Stick to the further instructions to complete the process successfully.
System File Checker will scan your entire device and look for the internal bugs and glitches including the corrupted system files.
After detecting the problem, the SFC tool will repair all the repairable system files and other corrupted files. When the process is over, reboot the device to allow the new changes to take effect.
-
Utilize the DISM Scanning Tool
Even after running the System File Checker, if the “printer not activated error code 41” still persists, then you might need to run the DISM scan.
DISM refers to Deployment Image Servicing and Management which is another built-in troubleshooter that can resolve glitches associated with the system files.
To run the DISM scan, you need to initiate the Command Prompt with administrator privileges. When the Command Prompt window comes up on the display screen, type “DISM /Online /Cleanup-Image /ScanHealth” and hit the Enter key to run the command.
After running this utility, all the corrupted system files, as well as other complications, get resolved. Reboot the device to verify whether the printer activation error has been fixed or not.
-
Make your Printer as Default Device
In certain instances, you may get stuck with the “printer not activated error code 41” if your printing device is not set as the default device. Thus, you can easily follow the underlying instruction:
- Proceed to tap on the gear-shaped icon in order to initiate the “Settings” app.
- After accessing the Settings, scroll through the available option and try to locate the “Devices”.
- Once you find it, tap on it and click on the “Printers and Scanners” from the right pane.
- Afterward, hit the “Manage” button from the appeared menu and choose the option titled “Set as Default”.
- Save the recently made modifications by tapping on the “Apply” button as well as the “OK” button.
After setting the printer as a default, if the printer activation error still pops up on the display screen, then go towards the next fix.
-
Restart the Print Spooler Service
Certain technical complications within the print spooler service can also trigger the printer not activated error code 41.
But, many users claimed that after restarting the print spooler service, they found that the error got eradicated from their device.
Therefore, you can also give it a try. Follow the underlying dedicated instructions in order to restart Print Spooler Service.
- Initiate the Run window and write “services.msc” inside the dialogue box.
- After running the command, the Service window will invoke automatically.
- Now, scroll through the enlisted options and make an attempt to locate the “Print Spooler Service”.
- After locating this service, proceed to right tap on it and hit the “Stop” button.
- Wait for a while and tap on the “Start” button. This will restart the Print Spooler Service.
-
Attempt to Upgrade the Drivers
A fault within the installed printer drivers can be another potential cause behind “printer not activated error code 41”. So, in this procedure, we suggest you upgrade the printer driver to its latest version.
For performing this action, you can follow the instructions underneath:
Step 1:
Go to the search box on the taskbar and write “Device Manager” inside it. From the resulting menu, tap on the “Device Manager” to initiate the window.
Step 2:
After accessing the Device Manager window, hit the Category to determine the names of the devices and drivers that are installed on the device. From the appeared list, proceed to right tap on the driver you want to update.
Step 3:
In this step, choose the option titled “Search automatically for updated driver software” to allow the device to search for the latest version of the printer driver. Hit the “Update Driver” and install the available version of the printer driver by tapping on the “OK” button.
-
Reinstall the Printer Driver
Even after upgrading the printer driver, if the “printer not activated error code 41” still troubles the users, then it is possible that it is certain the printer driver has become corrupted.
To prevent such occasions, you might need to reinstall the printer driver. Follow the under mentioned instructions:
- On the Run dialogue box, type “Control” and hit the “OK” button to execute the command.
- From the appeared menu, tap on the “Control Panel” to initiate the Window.
- After accessing the Control Panel, head over to the “Programs and Features” section.
- Under this section, you need to locate the “Printer Driver” from the Context menu.
- Proceed to right tap on the “Printer Driver” and hit the option titled “Uninstall”.
- Wait unless the uninstallation process gets over.
- Furthermore, reboot the device and visit the manufacturer’s website.
- Here, you have to locate and download the latest driver for your printer by following the on-screen guidelines.
The installation process might take a while. So, do not interrupt the process in between. We hope, after reinstalling the printer driver, you will be able to get rid of the error code 41.
Frequently Asked Questions
-
What is Error Code 41 on Printer?
The error code 41 is a critical device manager error code that occurs during the printer activation. This is triggered either by the device driver associated with the hardware component that has been eliminated after the driver was loaded. The error notification shows up on the Device Status area that is situated on the device Properties.
-
How to Activate the Printer?
In order to activate a printer, follow the instructions that are mentioned below:
- Initially, connect the printer to a computer by using a USB cable.
- Be sure you powered on both the printer and computer.
- Head over to the “Settings” menu and hit the option titled “Devices”.
- Furthermore, choose the “Add a Scanner or Printer” option and wait until your computer detects the printer.
- Follow the remaining instructions to accomplish the task in a correct manner.